
Checkout & payments
Publish a checkout and accept payment
Set a one-time price, connect PayU LIVE and give buyers access to a course.
Added to the help center: November 2, 2026
On this page
Add the product and price
Create a checkout in your seller workspace. Enter the product name and description, then add a visible package with its price and currency. For a live PayU purchase, use a one-time price in PLN.
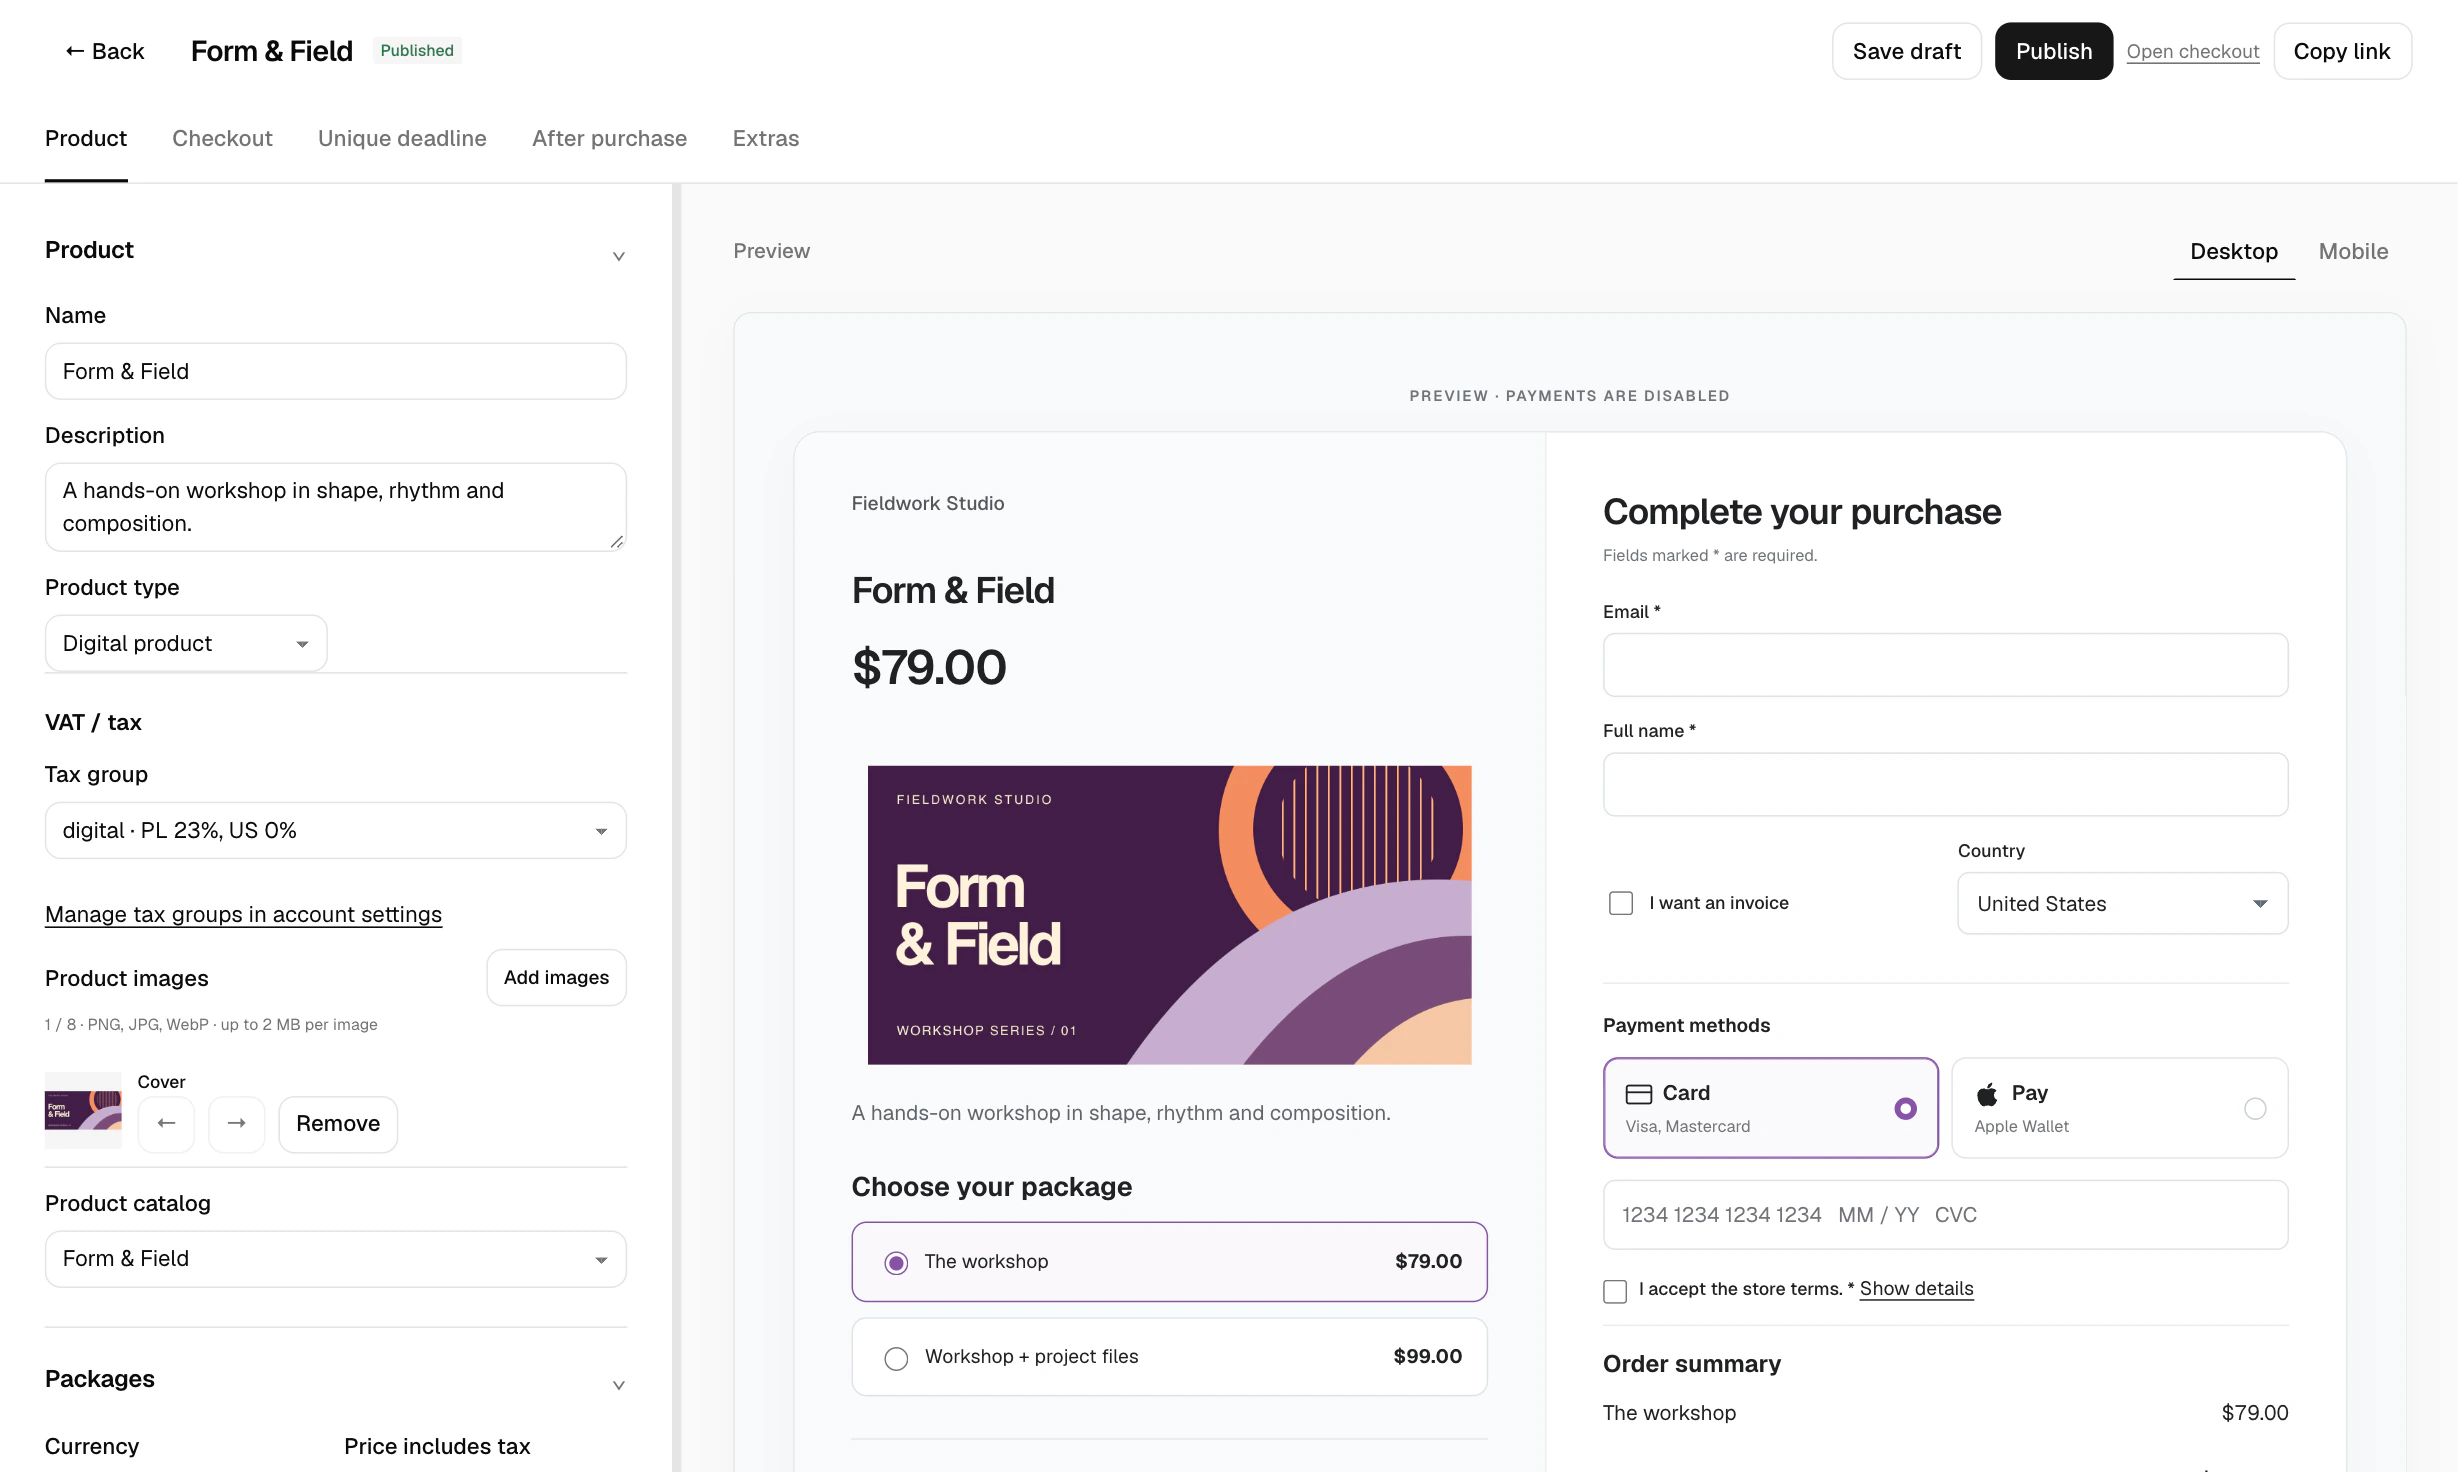
Connect live payments
- In Integrations, add your PayU point of sale in live mode. Enter the credentials for that point of sale and verify the connection.
- In the checkout’s payment settings, choose Production (LIVE) and enable the PayU method for the purchase. Use the ready live point of sale. Stripe card and BLIK selections require TEST mode.
- Under After purchase, complete the seller details and legal links. For a course, select the published course and check the access assigned to each price option.
Publish and check the offer
Save the draft, resolve any missing items shown by the editor, then publish. Open the public checkout in a fresh browser window and check the product, price and payment method. Saving later edits updates the draft. Publish again when the buyer should see them.
To offer a subscriber discount, configure the promotional price and campaign in the checkout. Use the published checkout URL when you add the offer to your newsletter.